🍽️ Get Fresh Recipes Delivered Weekly — Subscribe Free

Easy Homemade Vanilla Ice Cream

Craving a scoop of pure nostalgia? This easy homemade vanilla ice cream is the answer. Among all the home made ice cream recipes, a custard-based vanilla remains the gold standard. It’s luxuriously creamy, speckled with real vanilla bean, and surprisingly simple to pull off with just a handful of pantry staples. Whether you serve it in a cone, alongside warm pie, or drenched in hot fudge, this from-scratch version beats store-bought every time. Once you taste how fresh and velvety it is, you’ll never go back to the carton again.
Desserts
Easy
Easy Homemade Vanilla Ice Cream
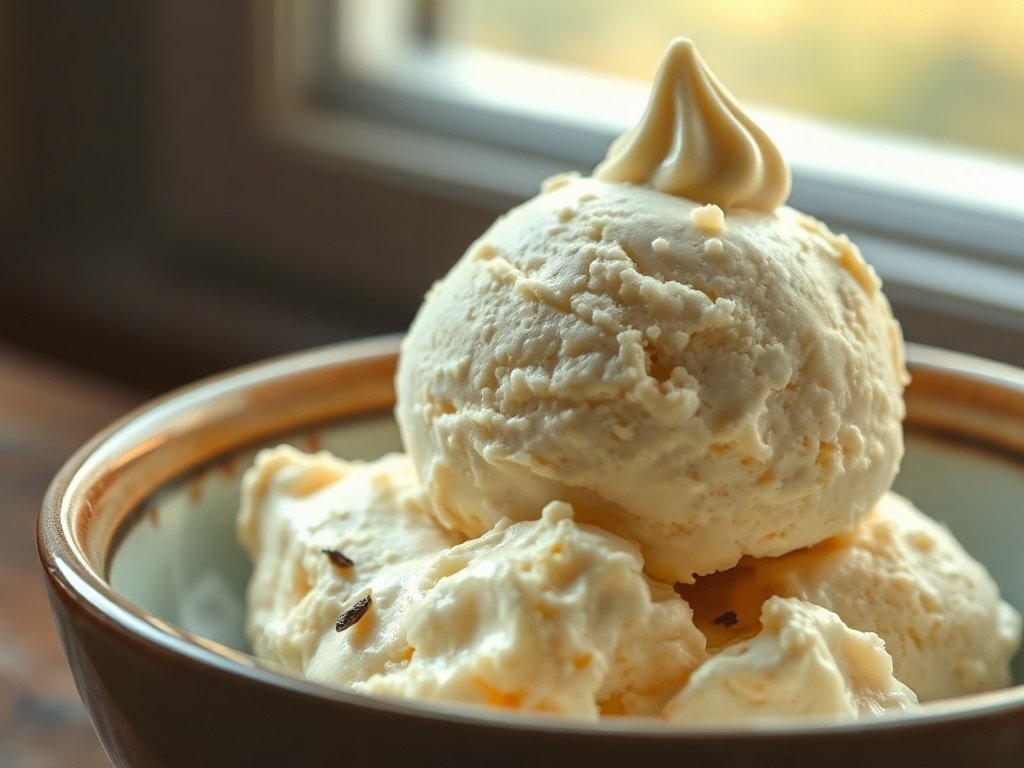
Making creamy, dreamy vanilla ice cream at home is simpler than you think. This classic recipe uses a cooked custard base for unparalleled richness and a smooth texture that rivals any scoop shop.
Ingredients
4
💡 Chef Tip
Straining the custard through a fine-mesh sieve after cooking guarantees a silky-smooth texture, free from any tiny bits of scrambled egg.
Nutrition Facts
Per Serving
Calories
320 kcal
Protein
5 g
Carbs
30 g
Fat
22 g
Fiber
0 g
Sugar
28 g
* Percent Daily Values are based on a 2,000 calorie diet.
Instructions
1
Pour the heavy cream and whole milk into a medium saucepan. Add half of the sugar and a pinch of salt. Place over medium heat and cook, stirring occasionally, until the mixture is steaming and small bubbles appear around the edges. Do not let it boil.
2
In a separate heatproof bowl, whisk the egg yolks with the remaining sugar until the mixture becomes pale, thick, and fluffy. This will take about 2–3 minutes.
3
Slowly ladle about 1 cup of the hot cream mixture into the egg yolks, whisking constantly to temper the eggs and prevent curdling.
4
Pour the tempered egg mixture back into the saucepan with the remaining cream.
5
Cook over low heat, stirring continuously with a wooden spoon or silicone spatula, until the custard thickens enough to coat the back of the spoon. It should reach 170–175°F on an instant-read thermometer.
6
Remove the saucepan from the heat and immediately stir in the vanilla extract.
7
Set a fine-mesh strainer over a clean bowl and pour the custard through it to remove any cooked egg solids.
8
Cover the bowl with plastic wrap, pressing it directly onto the surface of the custard to prevent a skin from forming. Refrigerate until completely chilled, at least 4 hours or preferably overnight.
9
Churn the chilled custard in an ice cream maker according to the manufacturer's instructions, typically 20–25 minutes, until it reaches a soft-serve consistency.
10
Transfer the churned ice cream to a freezer-safe container, press a piece of parchment paper on top, and freeze for at least 4 hours until firm.
Frequently Asked Questions
Absolutely. Pour the chilled custard into a shallow freezer-safe dish and freeze for about 45 minutes. Once ice crystals form around the edges, beat the mixture vigorously with a hand mixer or whisk, then return it to the freezer. Repeat the beating process every 30–45 minutes, about 4 times in total, until the ice cream is thick and creamy.
Icy texture usually results from too much water content or not enough fat. Make sure you use full-fat cream and milk, and that the custard is cooked long enough to evaporate excess water. Churning quickly and freezing in an airtight container also helps keep ice crystals small.
The classic test is to dip a wooden spoon into the custard and draw a line through the coating with your finger. If the line holds its shape without the custard running, it is ready. For accuracy, the custard should reach 170–175°F on an instant-read thermometer.
Yes. After churning to soft-serve consistency, gently fold in your favorite mix-ins by hand before transferring to the freezer container. Add about ½ to 1 cup of crushed cookies, chopped nuts, chocolate chunks, or fruit pieces per quart.
It is best enjoyed within 1 to 2 weeks for optimal flavor and texture. After that, it may begin to develop ice crystals. Keep it tightly sealed and cover the surface with parchment paper to extend its freshness.
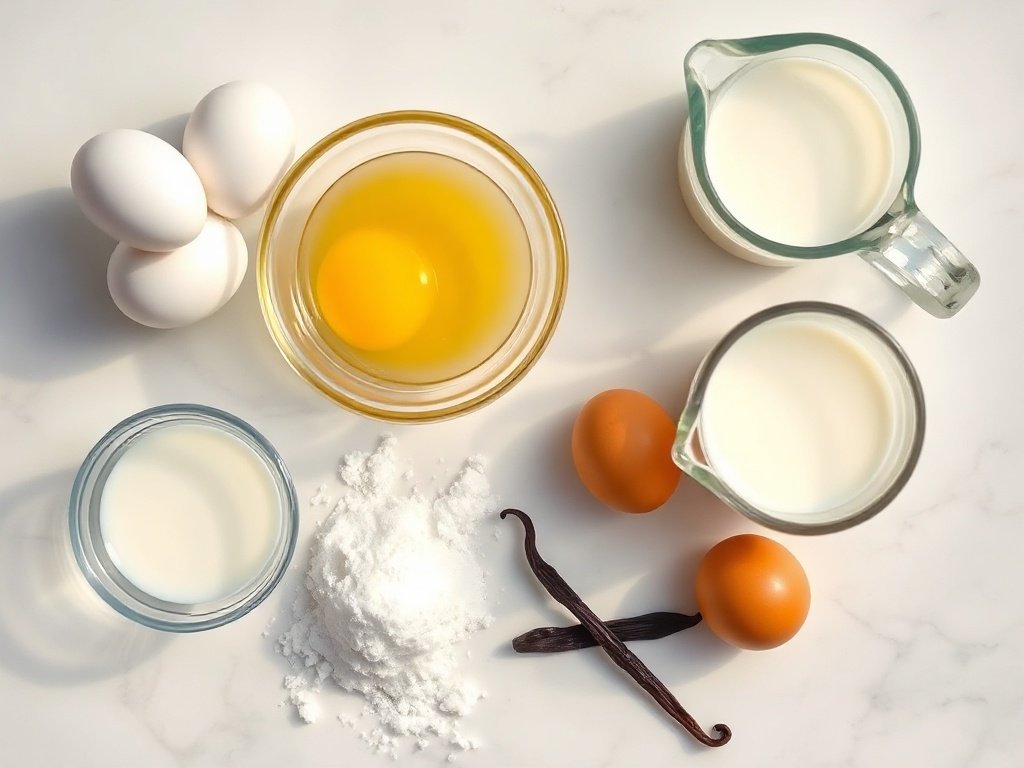
Simple, fresh ingredients that are the foundation of any great homemade ice cream.
Why You’ll Love This Recipe
✓ Made entirely from scratch
✓ No artificial flavors or preservatives
✓ Ultra-creamy texture
✓ Perfect for summer desserts
Equipment Needed
🧰 Medium saucepan
🧰 Whisk
🧰 Mixing bowls
🧰 Fine-mesh strainer
🧰 Ice cream maker
🧰 Silicone spatula
🧰 Instant-read thermometer
Recipe Notes
- If you don’t have an ice cream maker, pour the chilled custard into a shallow dish, freeze for 45 minutes, then beat with a hand mixer. Repeat this process 3–4 times until creamy.
🧊 Storage Tips
Store homemade vanilla ice cream in an airtight container with a piece of parchment paper pressed against the surface. It will keep well in the freezer for up to 2 weeks.
⏰ Make Ahead Tips
The custard base can be prepared up to 2 days in advance and stored in the refrigerator until you are ready to churn.
🍴 Kitchen Picks
Helpful tools that make this recipe easier and more enjoyable.
Vitamix Explorian E310 Blender
Professional-grade blender ideal for blending frozen fruit, making smooth custard bases, and creating frozen desserts with a smooth texture.
Cuisinart Chef’s Classic Stainless 1-Quart Saucepan
Stainless steel saucepan perfect for gently heating milk and cream to create a custard base for homemade ice cream.
KitchenAid Artisan Series 5 Quart Tilt-Head Stand Mixer KSM150PS
Stand mixer with wire whip attachment ideal for whipping heavy cream to stiff peaks for no-churn ice cream recipes.
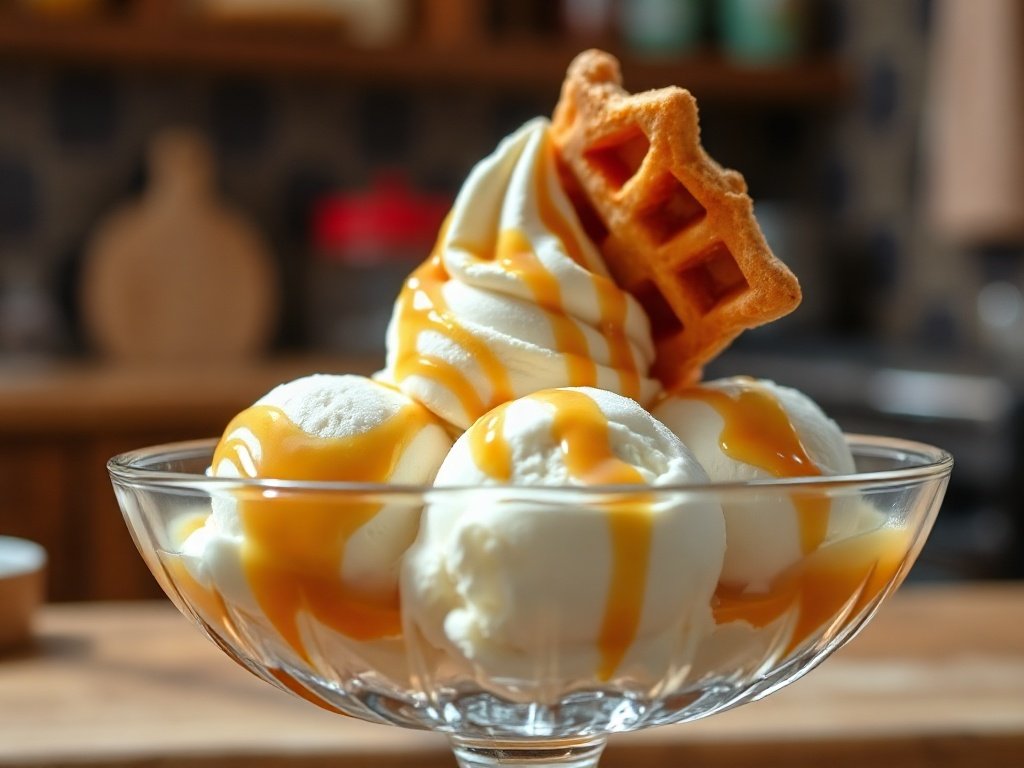
Plated vanilla ice cream dessert with caramel sauce and a crunchy waffle.
📋 Recipe Summary
⏱️
35 Min
35 Min
👨🍳
Easy
Easy
🍽️
4 Servings
4 Servings
🔥
320 kcal
320 kcal
- ✓ Made entirely from scratch
- ✓ No artificial flavors or preservatives
- ✓ Ultra-creamy texture
- ✓ Perfect for summer desserts
From the first spoonful, you’ll understand why this is one of the most beloved home made ice cream recipes. The silky texture and pure vanilla flavor make every batch worth the minimal effort. Experiment with mix-ins like crushed cookies or swirls of caramel to make it your own, then let your ice cream maker do the work. Share it with family on a lazy Sunday or keep a stash hidden in the freezer for personal indulgence. Either way, this timeless dessert brings joy in every bite and proves that homemade is always best.
You May Also Like