🍽️ Get Fresh Recipes Delivered Weekly — Subscribe Free

Classic Dill Canning Pickles Recipe

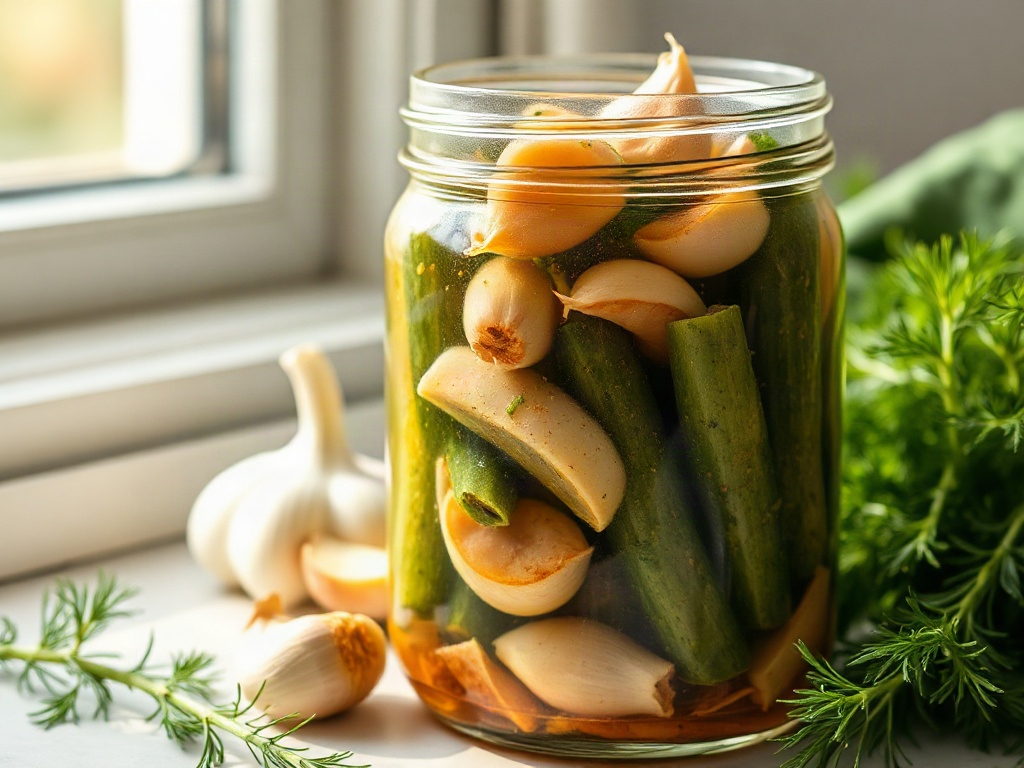
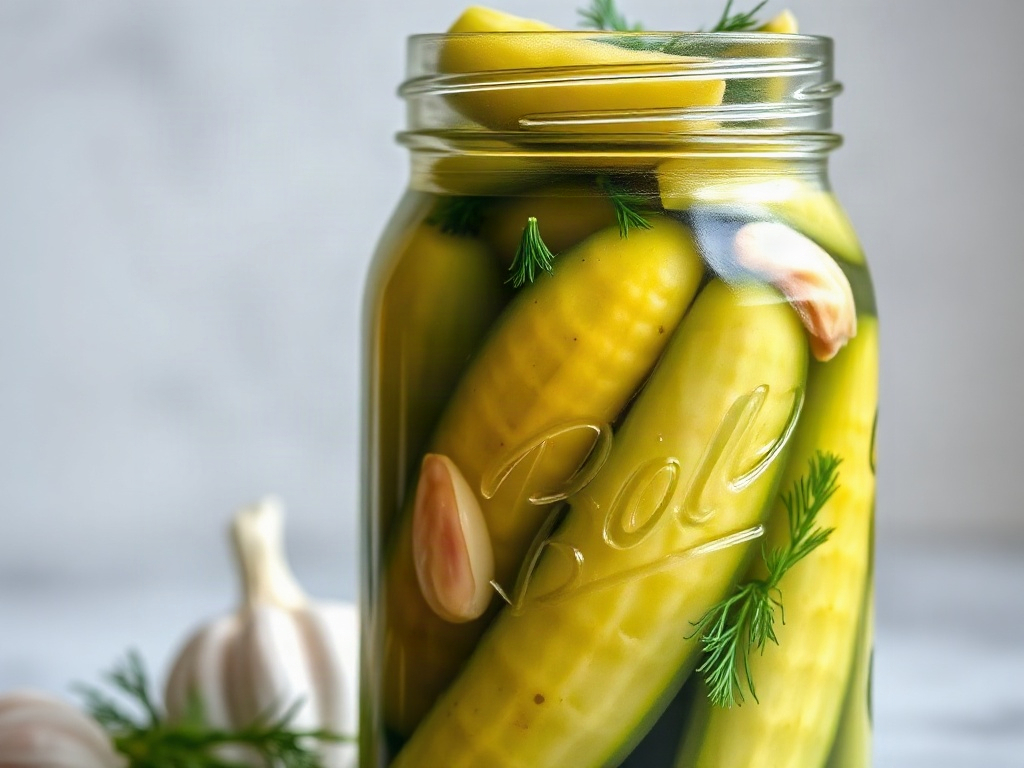
There is nothing quite like the satisfying crunch of a homemade dill pickle. This canning pickles recipe is your ticket to preserving the peak freshness of summer cucumbers all year long. Using a classic vinegar brine infused with garlic, dill, and mustard seeds, this recipe delivers bold, tangy flavor in every bite. Unlike refrigerator pickles, this method employs a hot water bath to create shelf-stable jars that can sit in your pantry for up to a year. Whether you are a seasoned preserver or trying canning for the first time, this guide will walk you through the process safely.
Healthy
Medium
Classic Dill Canning Pickles Recipe
Discover the art of preservation with this comprehensive canning pickles recipe. Learn how to create crunchy, tangy homemade dill pickles using a safe water bath method that locks in flavor for months.
Ingredients
4
💡 Chef Tip
For the crunchiest pickles, ensure your cucumbers are as fresh as possible, ideally picked the same day, and never skip trimming the blossom end.
Nutrition Facts
Per Serving
Calories
18 kcal
Protein
1 g
Carbs
4 g
Fat
0 g
Fiber
1 g
Sugar
2 g
* Percent Daily Values are based on a 2,000 calorie diet.
Instructions
1
Wash cucumbers thoroughly and slice off the blossom end to prevent softening.
2
Sterilize four pint-sized mason jars and lids by boiling them in the water bath canner for 10 minutes.
3
In a medium saucepan, combine the vinegar, water, and pickling salt to create the brine. Bring to a rolling boil.
4
Place one grape leaf at the bottom of each hot jar to help maintain crispness.
5
Divide the mustard seeds, peppercorns, garlic cloves, and dill sprigs evenly among the jars.
6
Pack the cucumbers tightly into the jars, leaving 1/2 inch of headspace at the top.
7
Ladle the boiling brine over the cucumbers, maintaining the 1/2 inch headspace.
8
Remove air bubbles by sliding a non-metallic utensil along the inside edge of the jar. Wipe the rims clean.
9
Center the lids on the jars and screw on the bands until fingertip-tight.
10
Process the jars in the boiling water bath canner for 15 minutes, ensuring they are covered by at least one inch of water.
11
Turn off heat, remove the canner lid, and let the jars rest for 5 minutes before transferring to a towel.
12
Let jars cool completely for 24 hours. Check seals, label, and store in a cool dark place for up to one year.
Frequently Asked Questions
The blossom end contains enzymes that can soften pickles over time. Removing it helps ensure your canned pickles stay crunchy during storage.
It is not recommended. Table salt contains anti-caking agents and iodine, which can make the brine cloudy and cause discoloration of the pickles.
For the best flavor and texture, you should wait at least 2 to 4 weeks after processing to allow the brine to fully penetrate the cucumbers.
Yes. A water bath canner kills bacteria and creates a vacuum seal. This is essential for making the pickles shelf-stable; skipping this step means they must be refrigerated immediately.
This is usually due to chipped jar rims, food particles on the rim, or lids not being fingertip-tight. Always wipe the rim with clean vinegar before placing the lid.
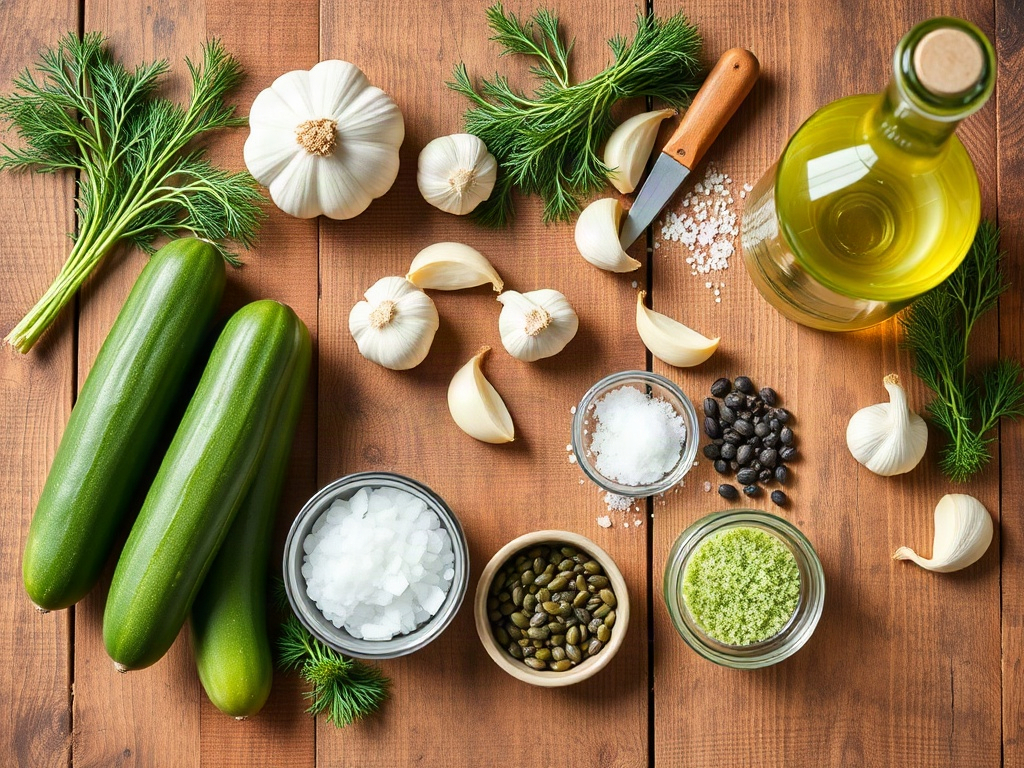
Fresh ingredients gathered for the ultimate canning pickles recipe.
Why You’ll Love This Recipe
✓ Shelf-stable preservation
✓ Garlicky and tangy flavor
✓ Maintains cucumber crunch
Equipment Needed
🧰 Water bath canner
🧰 4 pint-sized mason jars
🧰 Jar lifter
🧰 Bubble remover
🧰 Large saucepan
Recipe Notes
- Altitude adjustments: Process for 20 minutes at 1,001-6,000 feet, and 25 minutes above 6,000 feet.
🧊 Storage Tips
Store sealed jars in a cool, dark pantry for up to 12 months. Once opened, refrigerate and consume within 2 months.
⏰ Make Ahead Tips
The pickles require at least 2 weeks of curing time in the jar to develop full flavor before eating.
🍴 Kitchen Picks
Helpful tools that make this recipe easier and more enjoyable.
Lodge 12-Inch Seasoned Cast Iron Skillet
Can be used for heating brine or small-batch pickling spice toasting.
Instant Pot Duo Plus 9-in-1 Multicooker
Essential for pressure canning pickles safely and efficiently.
Pyrex Essentials 3-Piece Glass Measuring Cup Set
Necessary for accurately measuring water, vinegar, and salt for canning brine.
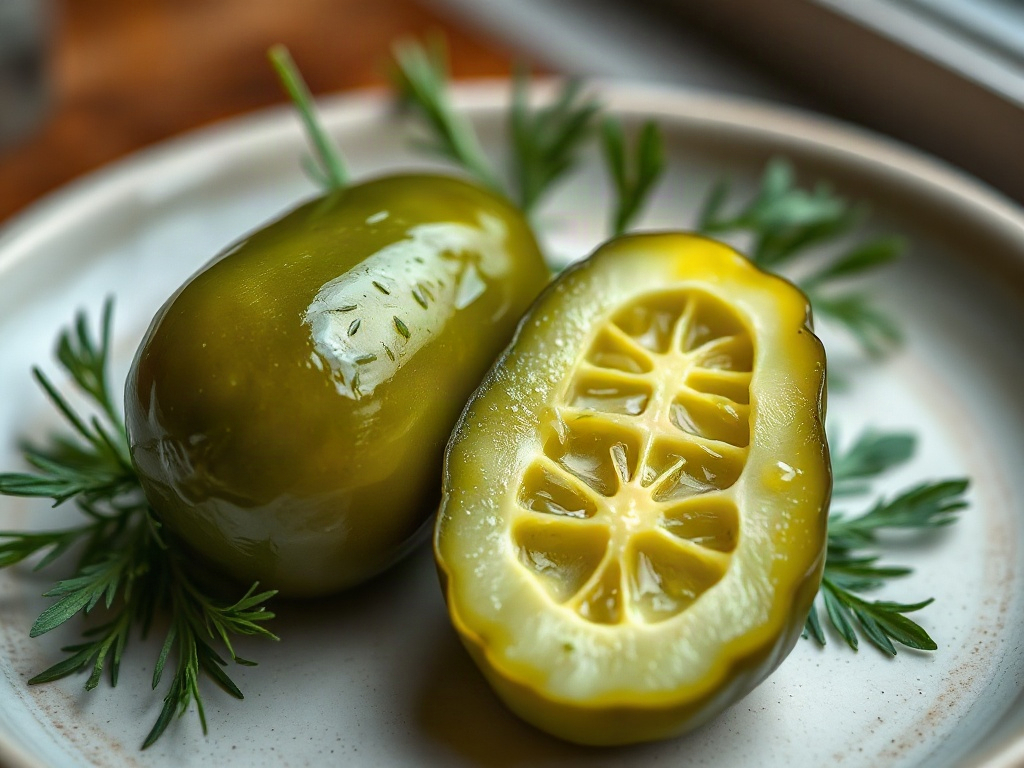
The final result: a crunchy, tangy, shelf-stable dill pickle.
📋 Recipe Summary
⏱️
45 Min
45 Min
👨🍳
Medium
Medium
🍽️
4 Servings
4 Servings
🔥
18 kcal
18 kcal
- ✓ Shelf-stable preservation
- ✓ Garlicky and tangy flavor
- ✓ Maintains cucumber crunch
With this straightforward canning pickles recipe, you can transform a bounty of fresh cucumbers into a shelf-stable pantry staple. The key is maintaining the water bath and using the perfect balance of vinegar, salt, and aromatics. Once you hear the satisfying pop of the lids sealing, you will know you have achieved preservation success. For a quicker no-cook method, be sure to check out our Easy Refrigerator Pickles as a complement to this traditional staple.
You May Also Like